Private and Public Projects
STACK gives you the option to make projects Public or Private within your account. This allows you to determine which account users have access to each project. You can allow all users on your account to view and access a project or restrict access so only users assigned to the project can see and work in that specific project.
- Public Project – Anyone on your account can see and access the project (according to their role and permissions).
- Private Project – Only Account Owners and users assigned to the project can see and access a private project (according to their role and permissions).
Private Projects can help your team stay organized and help prevent errors from someone accidentally working on the wrong project since they can only see and access the projects to which they are assigned. It is also useful for projects that need to be kept confidential from other users within your organization.
They can be very useful for large accounts that want to create project teams to work on projects by office, region, or location; or that need more security and control in limiting access to sensitive information on certain projects.
Key Information
- Projects can be made Public or Private at any time.
- Only Account Owners and other account users with a role/permission to create a project can make a project Private or change a Private Project to Public.
- There is a setting at the account level to make all new projects Private by default or you can enable the Private Project setting for individual projects as needed.
- A Private Project is only visible on the Project List to Account Owners and the users assigned to that project.
- A Private Project must have at least one user assigned to it.
- You can see or change the users assigned to the project in the Assigned To section of the Project List or HOME screen.
- Only Account Owners and users assigned to a Private project can access/work in the project (according to their role and permissions).
- You cannot Share or Invite others to perform takeoffs if a project is Private.
-
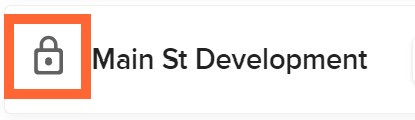
Private Projects are denoted with a lock icon on the Project List and HOME screen.
Make a Project Private or Public
You can make a project Private or Public directly from the Project List or from the project’s HOME screen.
NOTE: You must be an Account Owner or other account user with a role/permission to create a project in order to make a project Private or change a Private Project to Public.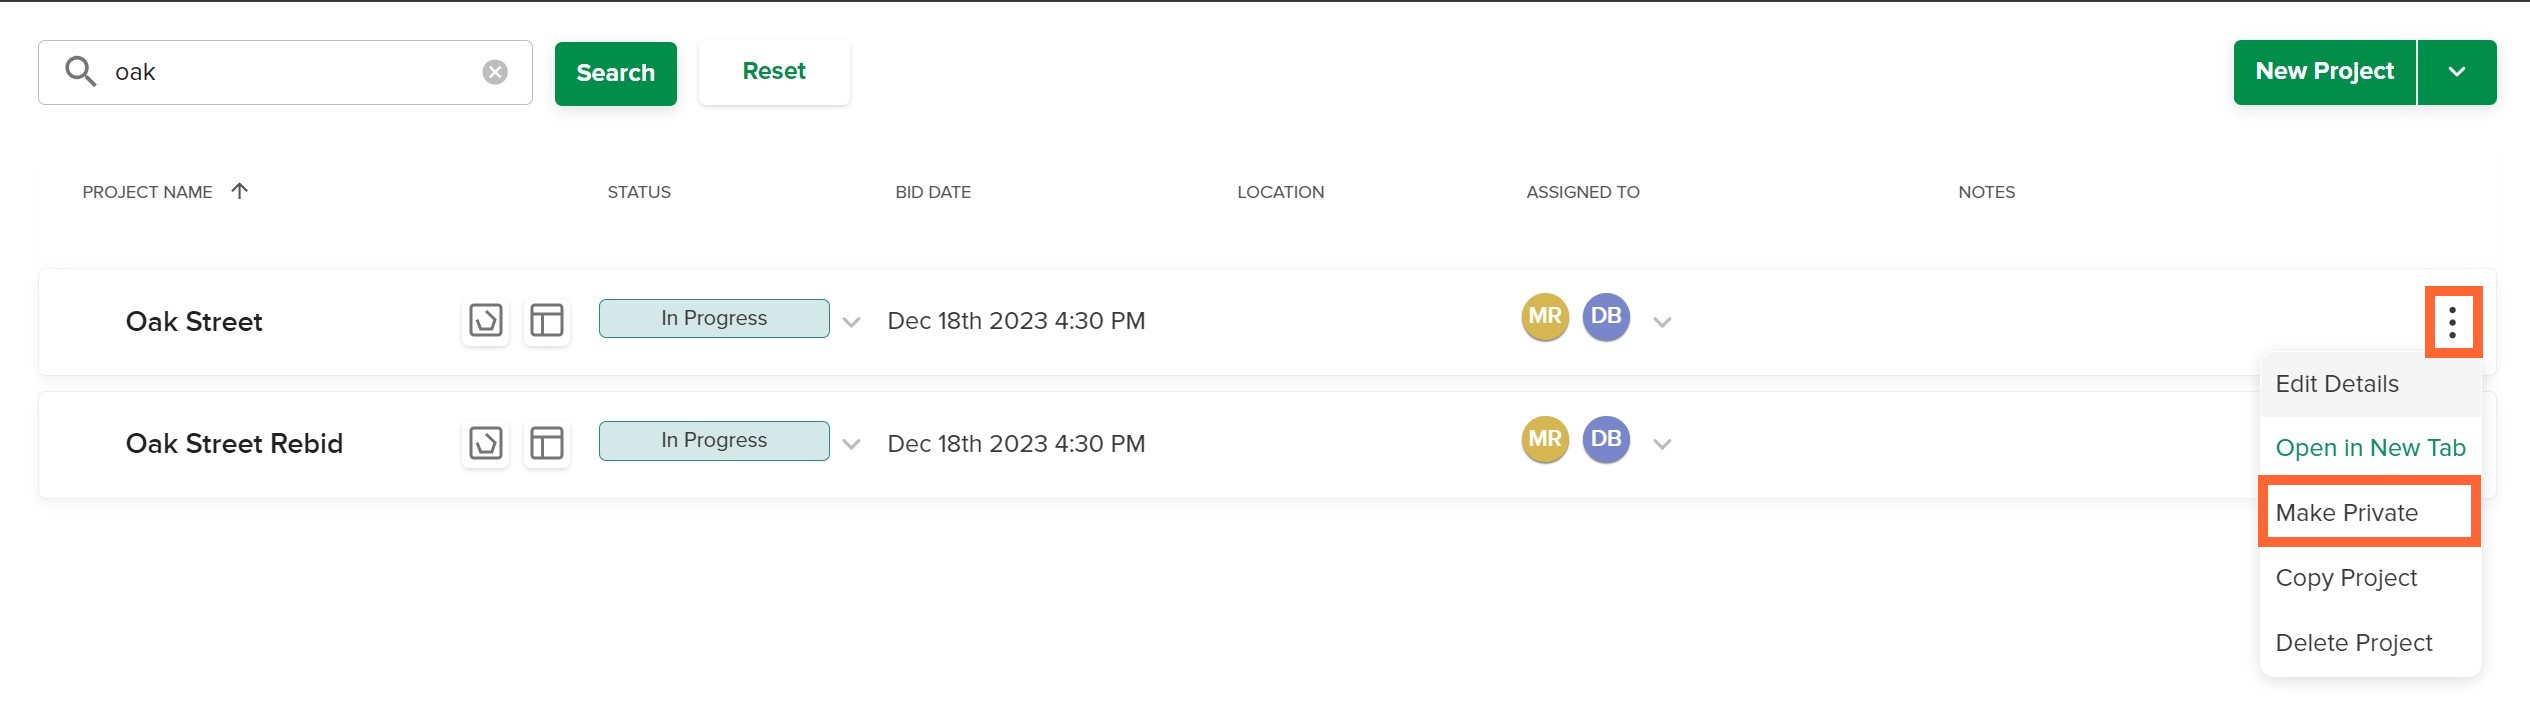
1. Click the three dots at the far right of the project you want to make Private (or Public if the project is already Private).
2.Select Make Private*(or Make Public*if the project is already Private and you want to make it public).
*You will not see these options if your role/permissions do not allow you to make a project private/public.Private Projects will have a lock icon next to the project name on the Project List.

Choose Who Can Access the Private Project
The users listed in the ASSIGNED TO section can see and access the Private Project.
1. Click the specific project ASSIGNED TO detail on the Project List.
2. Click to check the box next to the name of each user you want to have access to the Private Project. (Uncheck boxes for users who should not have access.)
3. Click the Confirm button.
From the Project Home Screen
1.Open the project you want to make Private (or Public)/click the project HOME tab on the top navigation bar.
2.Scroll down to the Project Settings tile.
3.Check the Make private box.*
(Uncheck the box if the project is already Private and you want to make it public).*You will not see this option if your role/permissions do not allow you to make a project private/public.
Private Projects will have a lock icon next to the project name on the HOME page.

Comments
Please sign in to leave a comment.